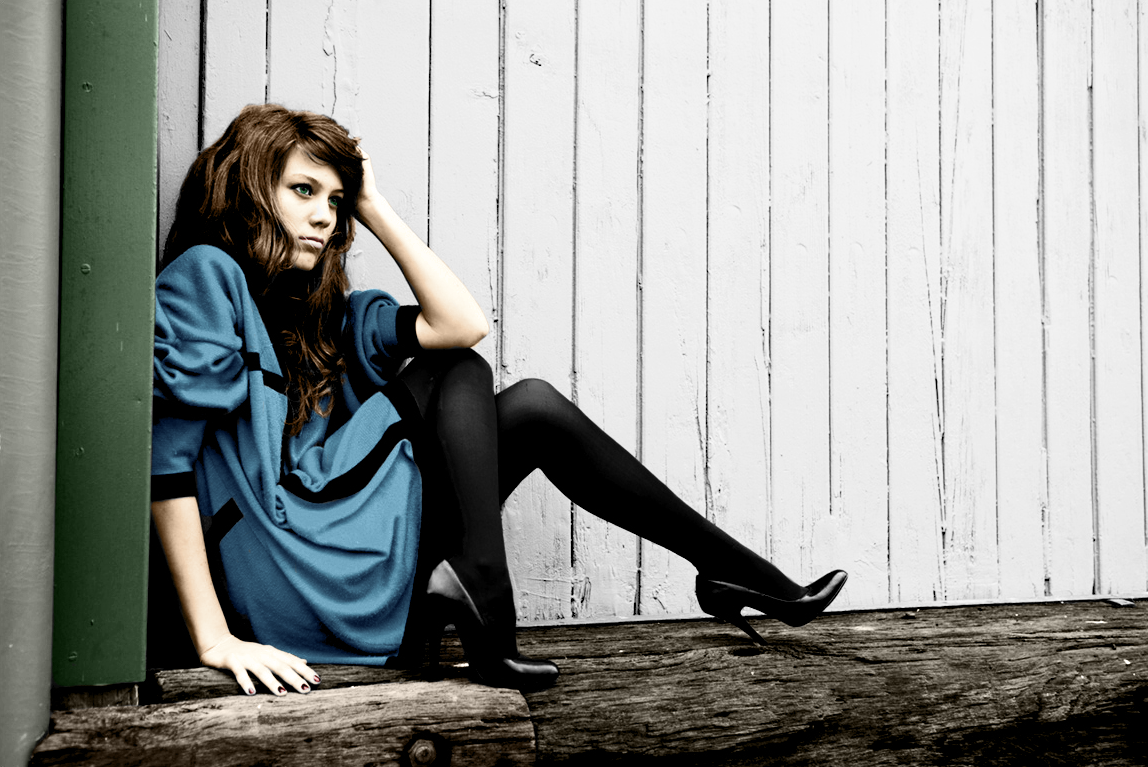
This colorization was done almost a month after the 54 Cutlass Concept colorization I discussed previously. In that month I did a fair amount of studying in regards to the techniques that go into recoloring an image. I still hadn’t mastered skin tones (to be honest, I’d say I still haven’t mastered it), but my overall technique had changed.
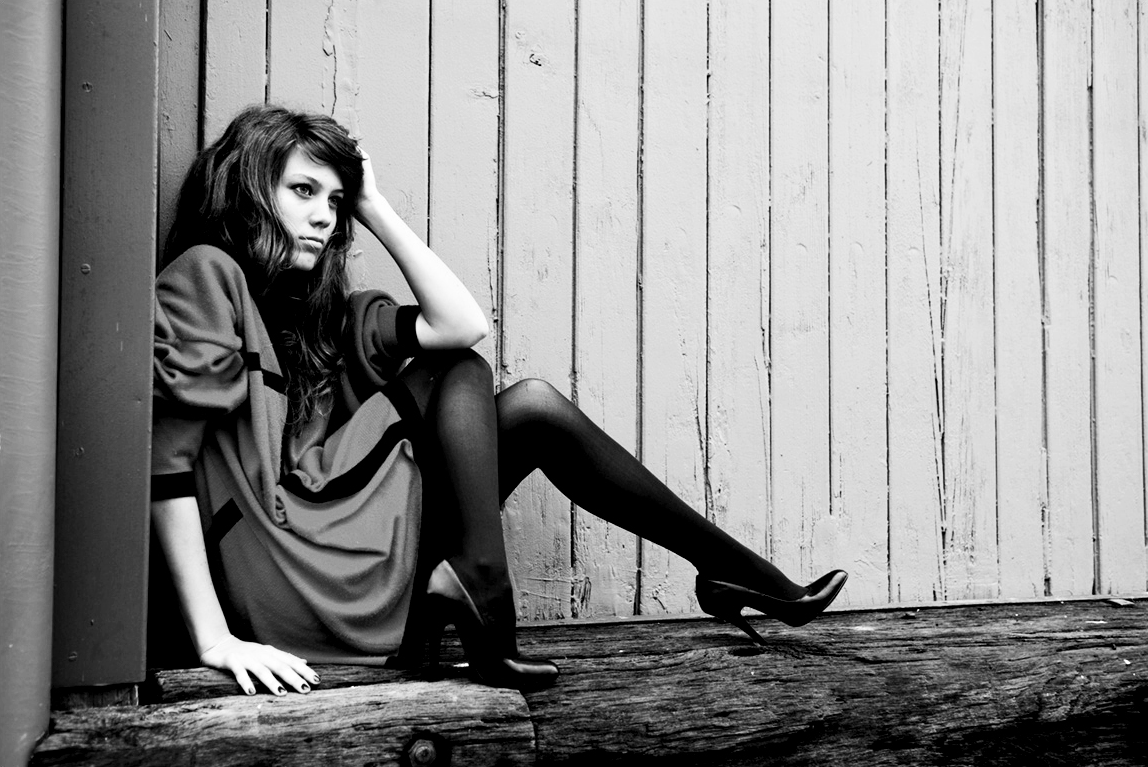
This image was found on DeviantArt, and was titled Black and White by mariemadame. When I dug up the original link for this post, I discovered that the black and white image was converted from a color photo by a user named wildplaces. The below image is the original (color) version of the photo. While my recolor was far from perfect, I was pleasantly surprised at how many of the colors I had correctly determined.
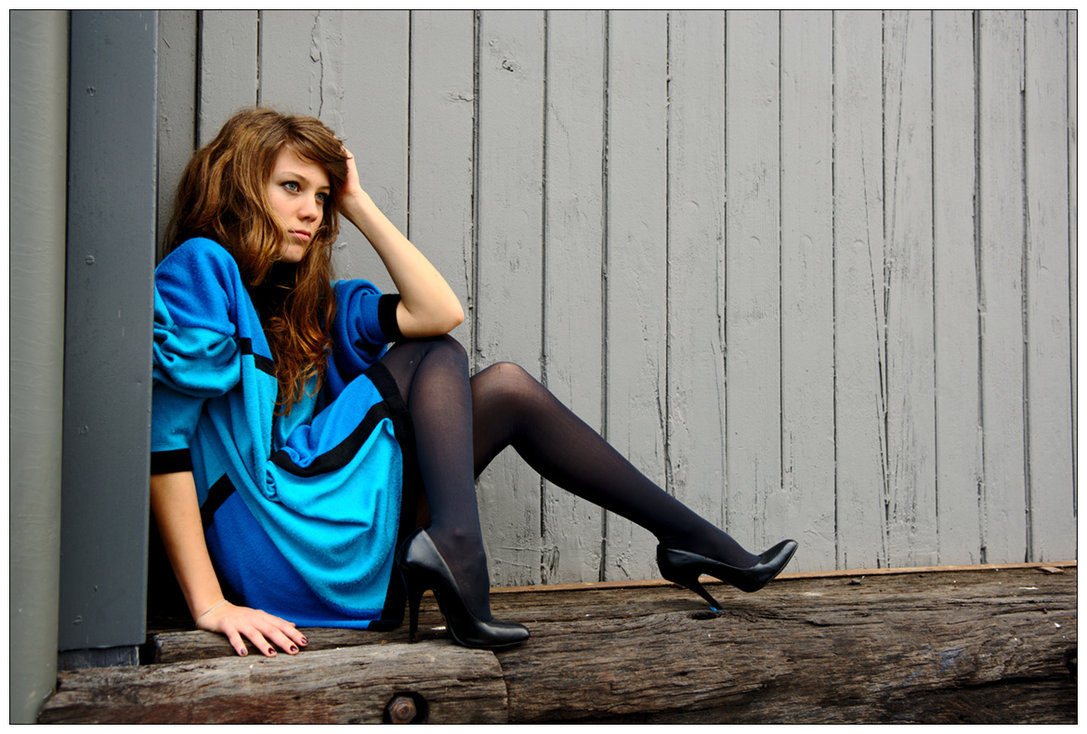
Until this point, each image was broken down into sections. For example, in the Cutlass colorization mentioned above, the copper parts of the car was one layer, the chrome parts of the car were one layer, etc. Each layer was then assigned a color and fine-tuned using the available filters. As I’ve previously mentioned, this is a lousy way to color many things. Skin, grass, dirt, wood and numerous other things incorporate advanced textures which cannot be colored using a single color. In this image, each piece was made using multiple layers, allowing much more complexity in each layer group. Unfortunately, the only place I did a passable job at this was in the coloring of the wood at the bottom of the image.
I slightly improved my skin tone, but the result was still more fitting to a mannequin than a model. Perhaps even more so than in my previous attempt. The flip side is that I seriously rushed this colorization. My first two attempts took several hours. My more recent work generally takes between one and two hours. This one was completed in under thirty minutes.